In this tutorial I am going to show you how-to set up a CI/CD pipeline in Azure DevOps that builds a small .NET application and finally deploys it to OpenShift.
The steps are based on the Microsoft learning path module Automate multi-container Kubernetes deployments with Azure Pipelines. But instead of deploying to AKS, the application is deployed on OpenShift.
6 steps to success
- Set up a OpenShift Kubernetes cluster
- Set up an Azure DevOps environment
- Create an Azure Container Registry
- Create Kubernetes connection
- Update a few Kubernetes manifests and the pipeline
- Build and deploy the application to OpenShift
Setup your OpenShift Kubernetes cluster
Microsoft Azure Red Hat OpenShift or a self-managed OpenShift Cluster on Azure are great options. However, in this tutorial we are using the Developer Sandbox for Red Hat OpenShift, because it is quick and free.
Get your Developer Sandbox
Navigate to Get started in the Sandbox and hit Launch your Developer Sandbox for Red Hat OpenShift. Log in to your Red Hat account (Don’t have an account? Simply create your free account here). Now login into your Red Hat OpenShift development cluster by selecting Start using your sandbox.
The sandbox contains two projects/namespaces: <redhat-account-name>-dev and <redhat-account-name>-stage.
Download the oc OpenShift Command Line Interface (CLI) via the questions mark ![]() and select Command line tools.
and select Command line tools.
Login with the oc CLI by,
- navigating to the top-right in the console select under your name Copy login command, and Display token,
- and enter the displayed
oc logincommand in a shell on your computer. E.g.,
$ oc login --token=sha256~xxxyyyzz --server=https://api.sandbox-xxxyyyzzz.openshiftapps.com:6443Code language: Bash (bash)Create a service account for Azure DevOps
Switch to the stage project:
$ oc project <redhat-account-name>-stageCode language: HTML, XML (xml)Create a service account for Azure DevOps:
$ cat << EOF | oc apply -f -
apiVersion: v1
kind: ServiceAccount
metadata:
  name: azure-sa
EOF

serviceaccount/azure-sa created
Add the edit role to the service account:
$ oc policy add-role-to-user edit system:serviceaccount:<redhat-account-name>:azure-sa

clusterrole.rbac.authorization.k8s.io/edit addedCode language: HTML, XML (xml)
Set up your Azure DevOps environment
Follow the instructions in Exercise – Set up your Azure DevOps environment with a few exceptions:
- Don’t deploy the Azure Kubernetes Service.
- Skip the
az role assignment createcommand to create a role assignment to authorise the AKS cluster to connect to the Azure Container Registry. - Don’t create the service connection to Azure Kubernetes Service.
- Don’t create an environment for Azure Kubernetes Service, but a generic Kubernetes environment for OpenShift.
You might want to open this blog post and the Microsoft learning path module side by side to follow the tutorial without getting lost.
Create a generic Kubernetes environment for OpenShift
- In Azure DevOps, under Pipelines, select Environments.
- Select Create environment.
- Under Name, enter openshift-sandbox.
- Under Resource, select Kubernetes.

- Select Next.
- Under Provider, select Generic provider (exiting service account).
- Under Cluster Name, enter sandbox.
- Under Namespace, enter <redhat-account-name>-stage.
- Run
kubectl config view --minify -o jsonpath={.clusters[0].cluster.server}and enter the URL under Server URL. - Switch to the stage project/namespace and get the service account secret.
$ oc project <redhat-account-name>-stage
$ kubectl get serviceAccounts azure-sa  -o=jsonpath={.secrets[*].name}

azure-sa-dockercfg-w8b9s azure-sa-token-dkhx8

# Use the token from the output ^^^

$ kubectl get secret azure-sa-token-dkhx8  -o json

{
    "apiVersion": "v1",
    "data": {
...
    },
    "type": "kubernetes.io/service-account-token"
}
Code language: PHP (php)- Under Secret, enter the json output from the last command.
- Select Validate and create

- Under Project Settings, select Service Connection.
- Copy the name of the new Kubernetes service connection openshift-sandbox-<redhat-account-name>-stage-######. E.g, openshift-sandbox-stefan-bergstein-stage-1621852211065
Update the Kubernetes deployment manifest in your GitHub source project
Follow the last instructions in Exercise – Set up your Azure DevOps environment under Update the Kubernetes deployment manifest.
Deploy a multi-container application to Kubernetes
Switch the application to non-privileged
First we will update a few manifests so that the application runs well as non-root, because privileged containers are not allowed by default on OpenShift:
- Update the two Dockerfiles so that the application runs well as non-root.
- Update the
containerPortin thedeployment.yml - Update the
service.yamlwith the correct ports and add an openshift route.
Update the two Dockerfiles so that the application runs well as non-root:
Go to your GitHub repository and update:
mslearn-tailspin-spacegame-web-kubernetes/Tailspin.SpaceGame.LeaderboardContainer/Dockerfilemslearn-tailspin-spacegame-web-kubernetes/Tailspin.SpaceGame.Web/Dockerfile
In each file, replace EXPOSE 80 with the following lines:
# Serve on port 8080, we cannot serve on port 80 with a custom user that is not root.
ENV ASPNETCORE_URLS=http://+:8080
EXPOSE 8080Code language: PHP (php)
Next, edit the file mslearn-tailspin-spacegame-web-kubernetes/manifests/deployment.yml and change the containerPort to 8080. Double-check that the image contains your ACR name.
Update the service.yaml with the correct ports and add an openshift route:
apiVersion: v1
kind: Service
metadata:
  name: leaderboard
spec:
  selector:
    app: leaderboard
  ports:
    - protocol: TCP
      port: 80
      targetPort: 8080
---
apiVersion: v1
kind: Service
metadata:
  name: web
spec:
  selector:
    app: web
  ports:
    - protocol: TCP
      port: 80
      targetPort: 8080
---
kind: Route
apiVersion: route.openshift.io/v1
metadata:
  name: web
spec:
  to:
    kind: Service
    name: web
    weight: 100
  port:
    targetPort: 8080
  wildcardPolicy: None
Save, stage, commit and push all the changes.
Update the pipeline
In this part, you’ll:
- Update the pipeline to support CI/CD on a commit to the master branch.
- Define some pipeline variables to make the build pipeline easier to maintain.
- Add a task to build and publish the leaderboard container to your container registry.
- Add a task to publish Kubernetes manifests from the Build stage so that they can be downloaded for use in the Deploy stage.
- Add a task to create an image pull secret for use between your Kubernetes and container registry instances.
- Add a task to deploy updated images to a Kubernetes cluster.
- Save the pipeline to trigger a CI/CD workflow.
Follow the instructions in Exercise – Deploy a multi-container solution to Kubernetes with a few exceptions:
- Set the
environmentto'openshift-sandbox.<redhat-account-name>-stage'instead of'spike.default' - Set the
kubernetesServiceConnectionto service connection you copied above: openshift-sandbox-<redhat-account-name>-stage-######. E.g, openshift-sandbox-stefan-bergstein-stage-1621852211065 - Set the
namespaceto'<redhat-account-name>-stage'instead of'default' - In the section Save the pipeline to trigger a build and release, please use the OpenShift Console to get the URL of the deployed application.
You can follow the Pipeline run in Azure DevOps:


Check the deployed application in OpenShift
Open your OpenShift Developer Console of your Sandbox and navigate to the topology of your stage project. Two deployments are running:

Select the web deployment and then the Resources tab.
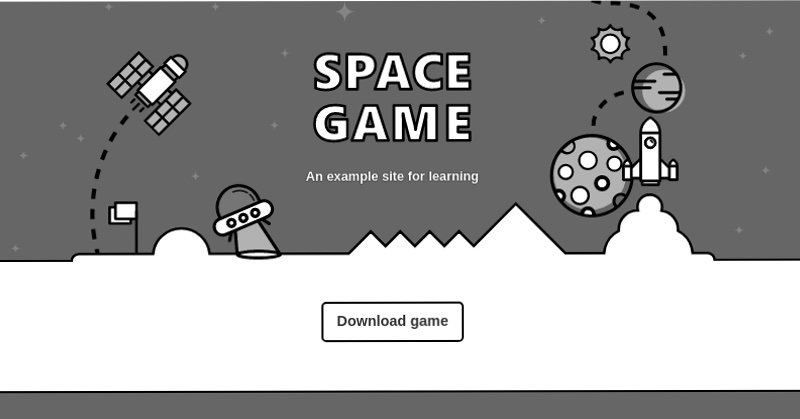
Launch the web frontend of the application by selecting the URL of the displayed route. The SPACE GAME will come up:

Great work! In this tutorial, you updated a Azure DevOps release pipeline to build, publish, and deploy a two container .NET application to OpenShift.
Troubleshooting
Compare your changes with the files in this example repository: https://github.com/stefan-bergstein/mslearn-tailspin-spacegame-web-kubernetes/tree/openshift_sandbox