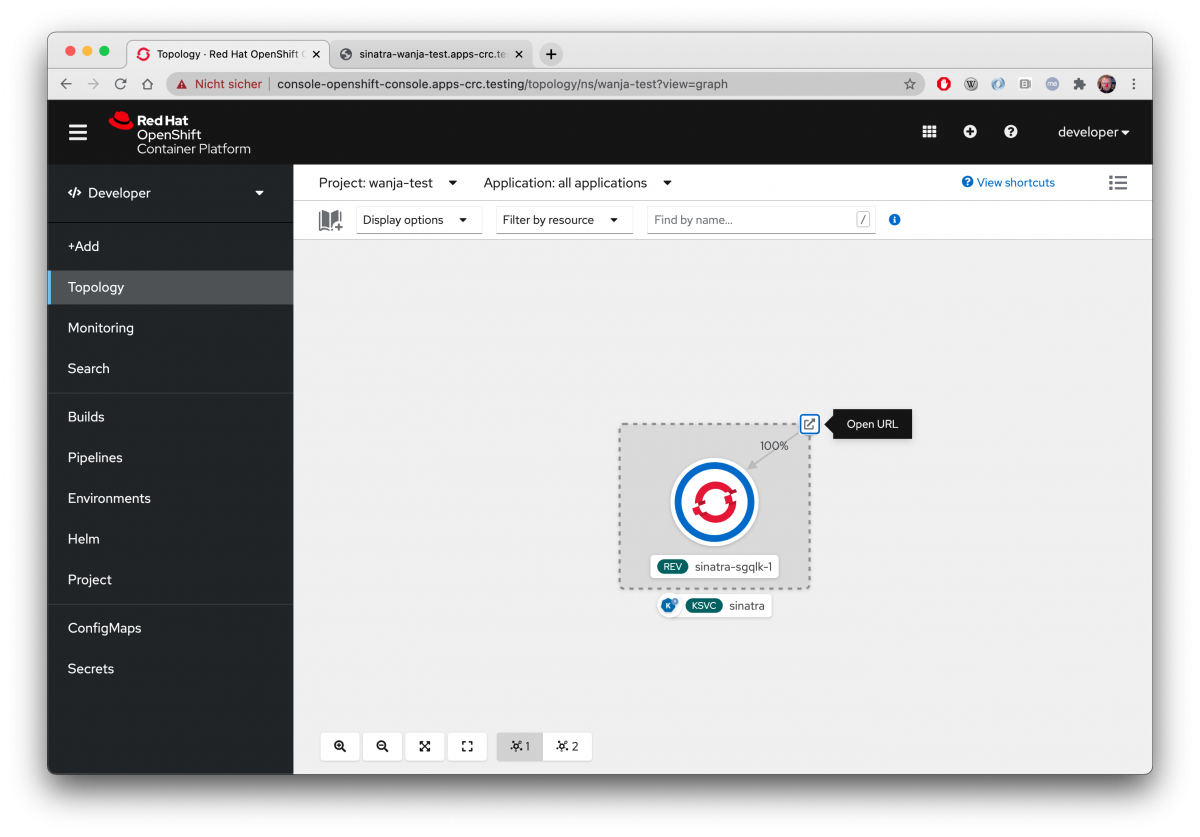
This blog entry explains how to access a remotely installed CodeReady Containers (CRC) on your macOS client box.
What is CRC
CodeReady Containers (CRC) is a tool to install an OpenShift 4.x single node cluster easily on your local machine to quickly test things out without having to get access to any externally hosted OpenShift instance. – It makes the life of a Developer or a DevOps guy much easier.
Unfortunately, it requires a lot of resources (at least 4 vCPUs and 9GB of free memory and 35GB of storage space – as of CRC 1.22.0).
So why not simply use CRC to install it on a spare machine with Fedora/CentOS/RHEL? — Because it is not so easy to access it from a remote machine.
Setting up CRC remotely
Simply follow the official guide to install CRC on a remote machine.
Setting up macOS client to access the remote instance
1. Setup DNS resolvers on macOS
macOS has a nice mechanism for DNS resolution. Whenever you’re trying to resolve a DNS name, you can
$> mkdir /etc/resolver
$> touch /etc/resolver/testing
$> echo "nameserver 127.0.0.1" > /etc/resolver/testingCode language: Bash (bash)
This is to make sure, all DNS queries on a subdomain called .testing are resolved by a name server running on 127.0.0.1. Have a look at Figure 1.

With scutil you can check to see if the server is being in use.
$> scutil --dns

[ .... ]
resolver #8
  domain   : testing
  nameserver[0] : 127.0.0.1
  port     : 53
  flags    : Request A records, Request AAAA records
  reach    : 0x00030002 (Reachable,Local Address,Directly Reachable Address)
  order    : 1
Code language: Bash (bash)
This is to make sure, your changes took effect. If you can’t find such a resolver entry in the output of scutil —dns, you should try to reboot.
2. Setup dnsmasq
Install dnsmasq from homebrew repositories and configure it to redirect all requests to SERVER_IP_ADDRESS, where SERVER_IP_ADDRESS is the IP of the remote box where CRC is installed.
$> brew install dnsmasq
$> tee /usr/local/etc/dnsmasq.conf &>/dev/null <<EOF
address=/apps-crc.testing/SERVER_IP_ADDRESS
address=/api.crc.testing/SERVER_IP_ADDRESS
EOF
Code language: Bash (bash)
Start dnsmasq
$> sudo brew services start dnsmasq
Code language: Bash (bash)
Now you should be able to do a ping on any domain with the ending „.testing“

3. Checking /etc/hosts
If you’re now trying to use
$> oc login -u developer -p developer https://api.crc.testing:6443
Code language: Bash (bash)
You’ll get the following error message
error: dial tcp: lookup api.crc.testing on 192.168.178.1:53: no such host - verify you have provided the correct host and port and that the server is currently running.
Code language: Bash (bash)
This is because oc needs the following two entries in /etc/hosts pointing to the remote server:
$> sudo vi /etc/hosts
Code language: Bash (bash)
Remove any existing entries of api.crc.testing and oauth-openshift.apps.crc.testing which could be there because of a previously installed CRC instance. Instead put the following line into /etc/hosts:
SERVER_IP_ADDRESS api.crc.testing oauth-openshift.apps.crc.testing
Code language: Bash (bash)
And save the file with „:wq“. Now you can try to log into the remote CRC instance again and it should work.
$> oc login -u developer -p developer https://api.crc.testing:6443
Login successful.
Code language: Bash (bash)

4. Optimizing your setup
Instead of installing a local dnsmasq on your macOS client, where all requests to the Domain “*.testing” are processed, you could also install dnsmasq on your external CRC server machine. The configuration of dnsmasq is exactly the same (have a look at the official CRC documentation, chapter 5.4 Connecting to a remote CodeReady Container instance). The only difference to the described setup is that your macOS DNS resolver points to the box where you’ve installed dnsmasq and CRC. So instead of
$> mkdir /etc/resolver
$> touch /etc/resolver/testing
$> echo "nameserver 127.0.0.1" > /etc/resolver/testingCode language: Bash (bash)
You’re creating something like
$> mkdir /etc/resolver
$> touch /etc/resolver/testing
$> echo "nameserver SERVER_IP_ADDRESS" > /etc/resolver/testingCode language: Bash (bash)
Additionally, you have to make sure, dnsmasq is listening on a network adaptor, which is accessible from within your client machine (by default, dnsmasq is only listening on localhost). Do this by adding an
interface=lo
interface=eth0Code language: Bash (bash)
Where eth0 is the output of ifconfig.
You also have to make sure that your firewall is not blocking access to port 53. So add another port to your zone.
$> sudo firewall-cmd --add-port=53/tcp --permanent
$> sudo firewall-cmd --add-port=53/udp --permanent
$> sudo systemctl restart firewalldCode language: Bash (bash)
Conclusion
I have tested this approach with a spare laptop with an intel core i7 (8 cores, 16 threads), 32GB of RAM and Fedora 33 as a remote host machine and it works quite well if you configure CRC to use 28 – 30 GB of RAM.
$> crc config set memory 28000
$> crc config set cpus 6
Code language: Bash (bash)
Right now, I am thinking to invest into a memory upgrade for the laptop so that I can assign much more memory to the CRC instance. The more, the better. Of course.
With this setup I am also able to test Operators like OpenShift Pipelines, OpenShift GitOps and even OpenShift Serverless. — But it is of course slower than on a real dedicated setup.
There is one more point to remember: As soon as you are installing CRC on your client, it overwrites your /etc/resolver/testing file to point to the IP of the virtual machine with OpenShift installed. Which means that you have to change it again if you want to access the remote CRC instance again.

