

In this post, I am going to show you how to enable faster Podman builds in Eclipse Che / OpenShift Dev Spaces by enabling support for /dev/fuse in your workspace. This will eliminate the need for using vfs with podman. It also gets us closer to being able to do podman run in a rootless container.
- Note: This will not work on ROSA, ARO, or other Managed OpenShift instances. While it is technically feasible, the managed nature of those offerings does not allow you to apply your own MachineConfig custom resources.
First – Install OpenShift Dev Spaces on an OpenShift Cluster
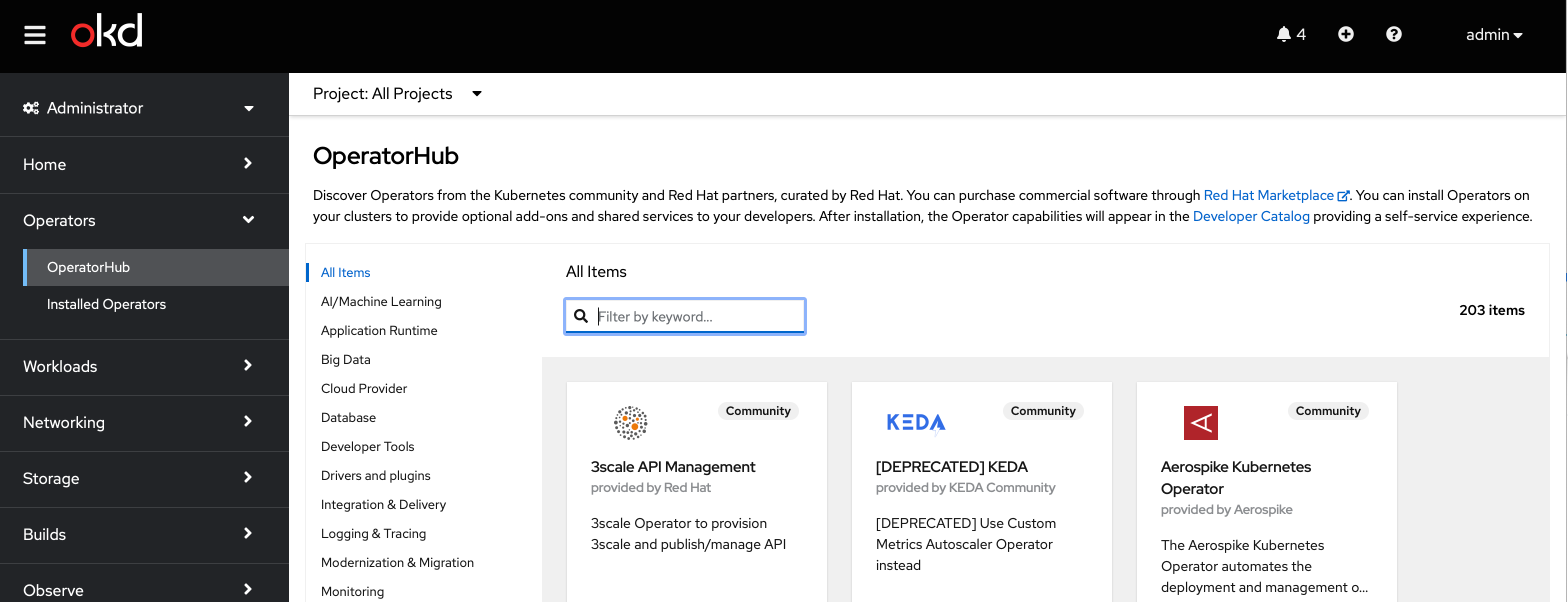
- Log into the OpenShift console from your browser.
- Navigate to the Operator Hub
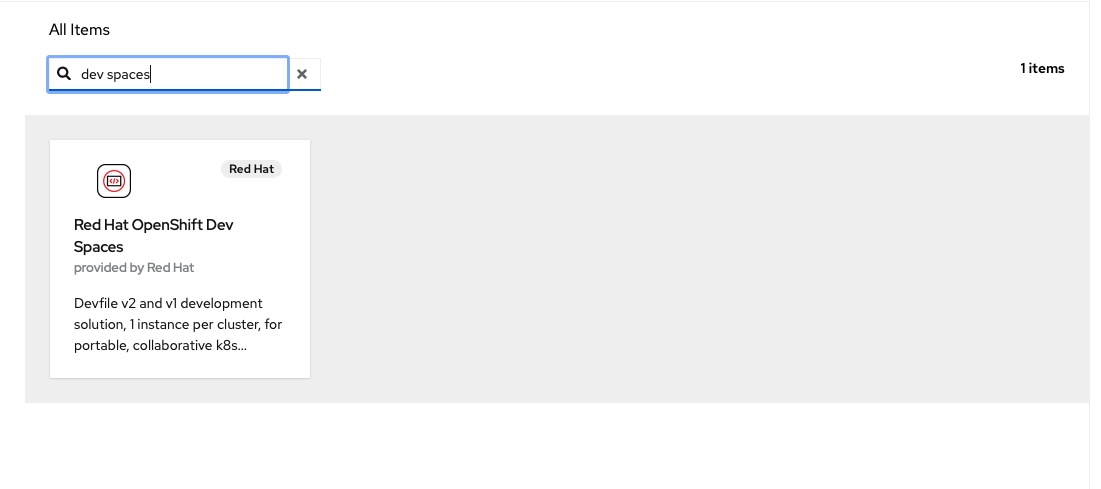
- Type
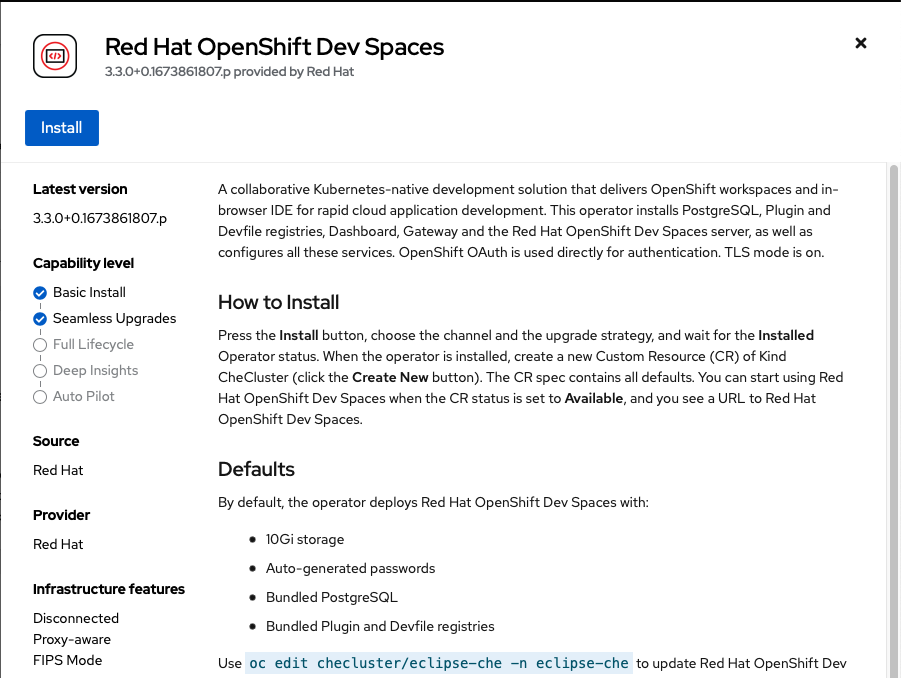
dev spacesinto the search, and select Red Hat OpenShift Dev Spaces: - Click Install:
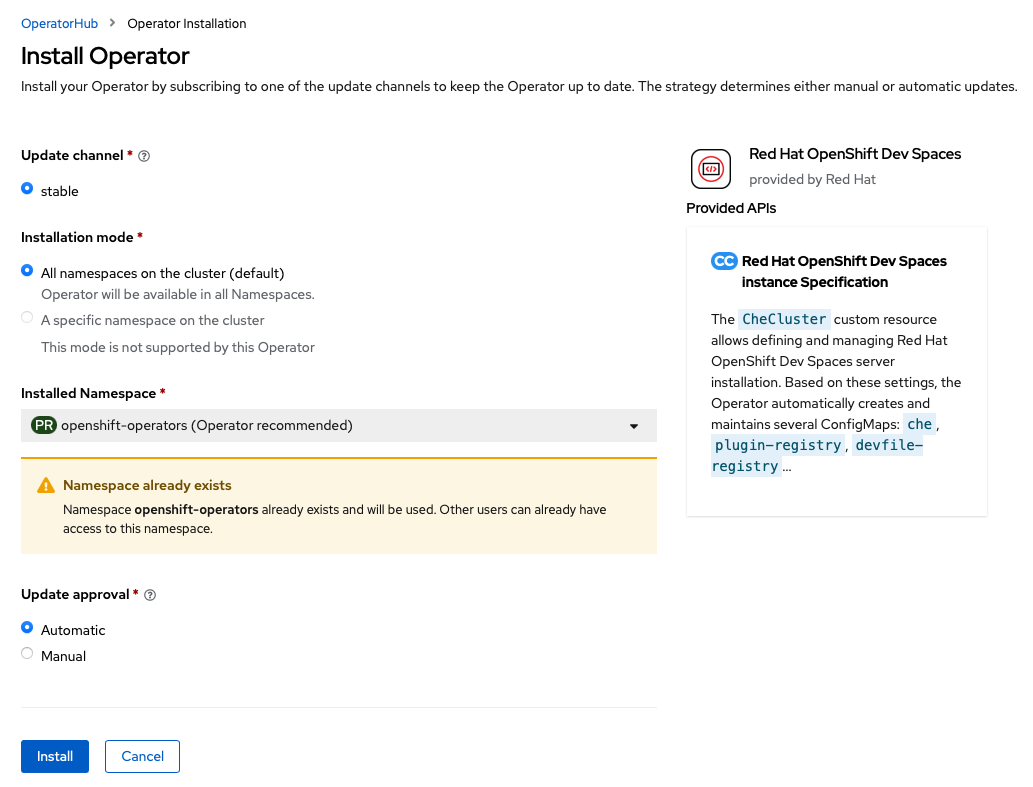
- Click Install again:
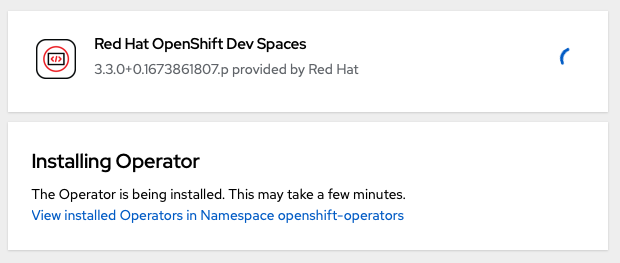
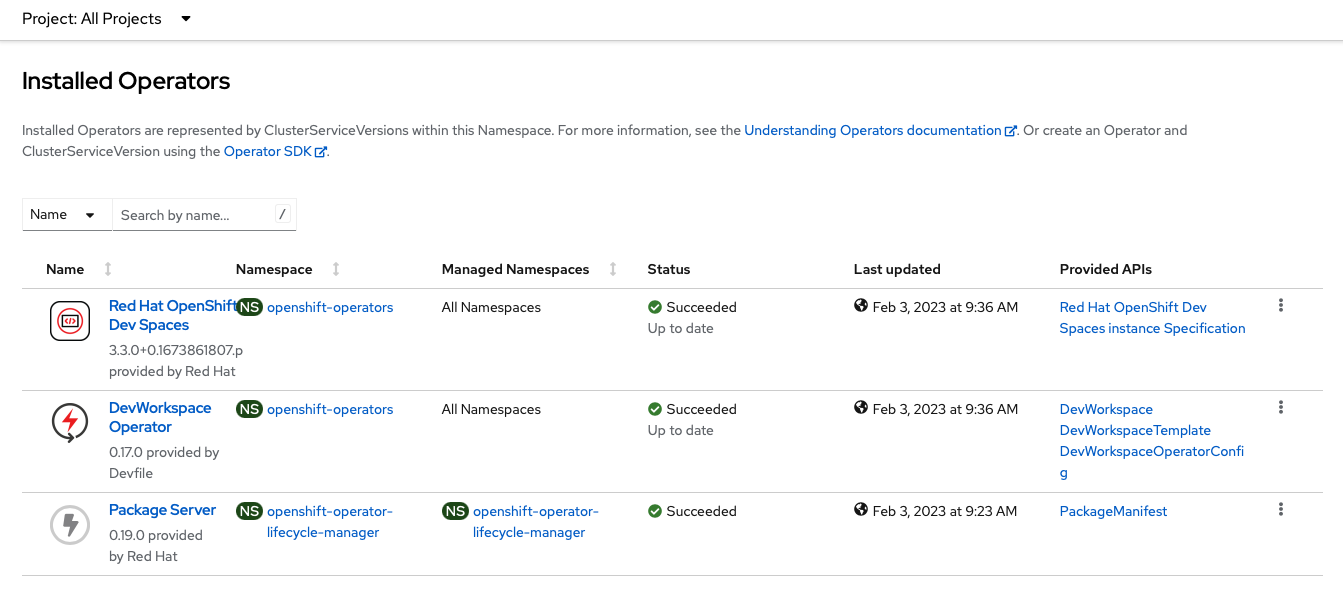
The Operator should begin installing: - Observe the installed Operators, by clicking on Installed Operators underneath Operator Hub in the left nav menu bar:
- Open a terminal and login to your OpenShift cluster with the CLI.
- Create an instance of Dev Spaces in your cluster:
cat << EOF | oc apply -f -
apiVersion: v1
kind: Namespace
metadata:
  name: openshift-devspaces
---
apiVersion: org.eclipse.che/v2
kind: CheCluster
metadata:
  name: devspaces
  namespace: openshift-devspaces
spec:
  components:
    cheServer:
      debug: false
      logLevel: INFO
    metrics:
      enable: true
    pluginRegistry:
      openVSXURL: https://open-vsx.org
  containerRegistry: {}
  devEnvironments:
    startTimeoutSeconds: 300
    secondsOfRunBeforeIdling: -1
    maxNumberOfWorkspacesPerUser: -1
    maxNumberOfRunningWorkspacesPerUser: 5
    containerBuildConfiguration:
      openShiftSecurityContextConstraint: container-build
    disableContainerBuildCapabilities: false
    defaultEditor: che-incubator/che-code/latest
    defaultNamespace:
      autoProvision: true
      template: <username>-devspaces
    secondsOfInactivityBeforeIdling: 1800
    storage:
      pvcStrategy: per-workspace
  gitServices: {}
  networking: {}
EOFCode language: plaintext (plaintext)- Wait for the Dev Spaces cluster to complete its rollout:
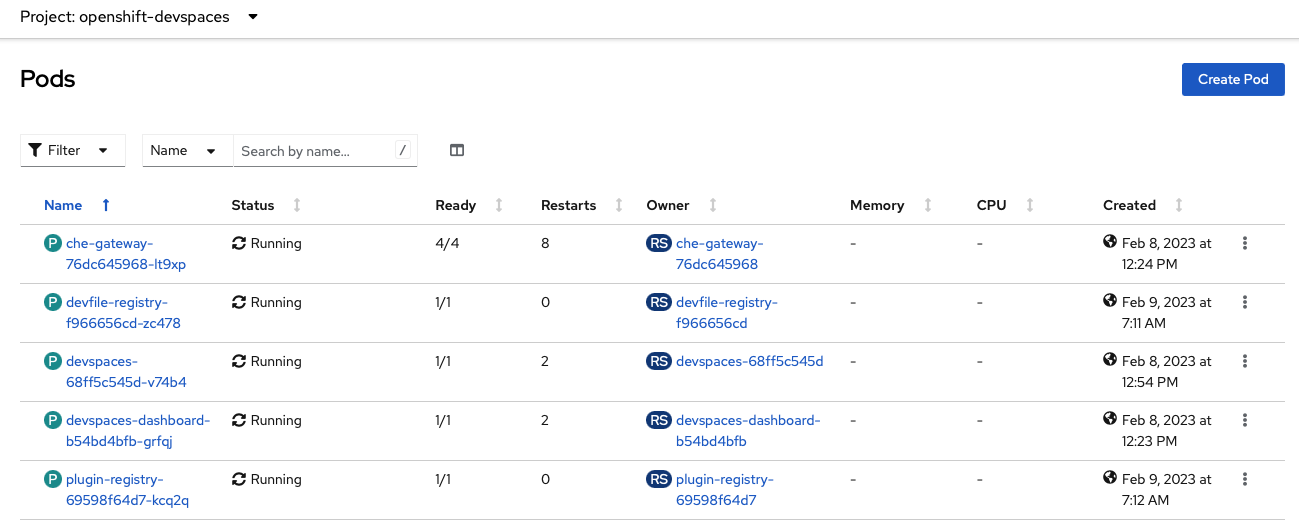
In the console, select from the left hand nav menu Workloads → Pods, Then select the Project: openshift-devspaces from the drop down in the top left.
When the rollout is complete, the list of running pods should look somethings like:
Now we are ready to configure our cluster to allow containers access to /dev/fuse.
Configure your OpenShift Cluster to Allow Pods to Mount /dev/fuse
We are now going to create a MachineConfig that will enable containers in OpenShift Pods to access /dev/fuse.
This is a fairly advanced task on your OpenShift cluster. Which is why ROSA and other managed offerings don’t allow users to do this. You can really mess up your cluster with a bad MachineConfig.
So, with that warning in place, let’s do something dangerous! 😉
To modify our cluster, we are going to inject an additional configuration into the CRI-O engine that is the core of running containers on OpenShift. This configuration change is going to enable a Kubernetes feature that allows containers to access devices on the host operating system. Since it follows an “Allow” list paradigm, this is relatively safe and secure as long as you don’t leak a device that grants unintended access.
AFAIK, leaking /dev/fuse into containers does not pose a security risk… But, I’m ready to be proven wrong too!
With that second disclaimer in place, let’s do this.
- Install butane: https://coreos.github.io/butane/. We need butane to assist with the creation of MachineConfigs. It’s really handy for that.
- Open a shell terminal and log into your OpenShift cluster as a Cluster Administrator with the
ocCLI. - Set a variable for the OpenShift Node role that you are going to apply the changes to.
If you are using a Single Node cluster or OpenShift Local, then set:
If you are using an OpenShift cluster with separate control-plane and compute nodes, then set:NODE_ROLE=masterNODE_ROLE=worker
- Apply the following MachineConfig to enable Pods to mount
/dev/fuse
Note: If you are using a SingleNode instance, it will reboot. So, make sure you do not have any processes running that need to complete.
cat << EOF | butane | oc apply -f -
variant: openshift
version: 4.13.0
metadata:
  labels:
    machineconfiguration.openshift.io/role: ${NODE_ROLE}
  name: podman-dev-fuse-${NODE_ROLE}
storage:
  files:
  - path: /etc/crio/crio.conf.d/99-podman-fuse
    mode: 0644
    overwrite: true
    contents:
      inline: |
        [crio.runtime.workloads.podman-fuse]
        activation_annotation = "io.openshift.podman-fuse"
        allowed_annotations = [
          "io.kubernetes.cri-o.Devices"
        ]
        [crio.runtime]
        allowed_devices=["/dev/fuse"]
EOFCode language: plaintext (plaintext)- Wait for the MachineConfig to apply. This will reboot the affected nodes.
That’s it! We have just enabled /dev/fuse access for containers.
In the next section, we’ll demo it within Dev Spaces.
But first, let’s talk about what this MachineConfig did to the cluster.
This particular MachineConfig is pretty simple. We’re just adding a file to the underlying Linux operating system.
The file will be written to: /etc/crio/crio.conf.d/99-podman-fuse
The contents of the file will be:
[crio.runtime.workloads.podman-fuse]
activation_annotation = "io.openshift.podman-fuse"
allowed_annotations = [
 "io.kubernetes.cri-o.Devices"
]
[crio.runtime]
allowed_devices=["/dev/fuse"]Code language: plaintext (plaintext)
This file modifies the configuration of the CRI-O engine which runs containers on the linux host. It instructs CRI-O to allow a container to mount an underlying device by using the io.kubernetes.cri-o.Devices annotation, if that container also has the io.openshift.podman-fuse annotation.
The list of allowed devices is limited to /dev/fuse.
So, a container with the following annotations will be allowed access to /dev/fuse:
annotations:
  io.openshift.podman-fuse: ""
  io.kubernetes.cri-o.Devices: "/dev/fuse"Code language: YAML (yaml)
Now, let’s see it in action.
Demo of fuse-overlay in Dev Spaces
- Log into Eclipse Che / Dev Spaces with a non privileged user. Don’t use cluster-admin` access for this part.
- Create a new workspace from https://github.com/cgruver/che-podman-fuse-demo.git
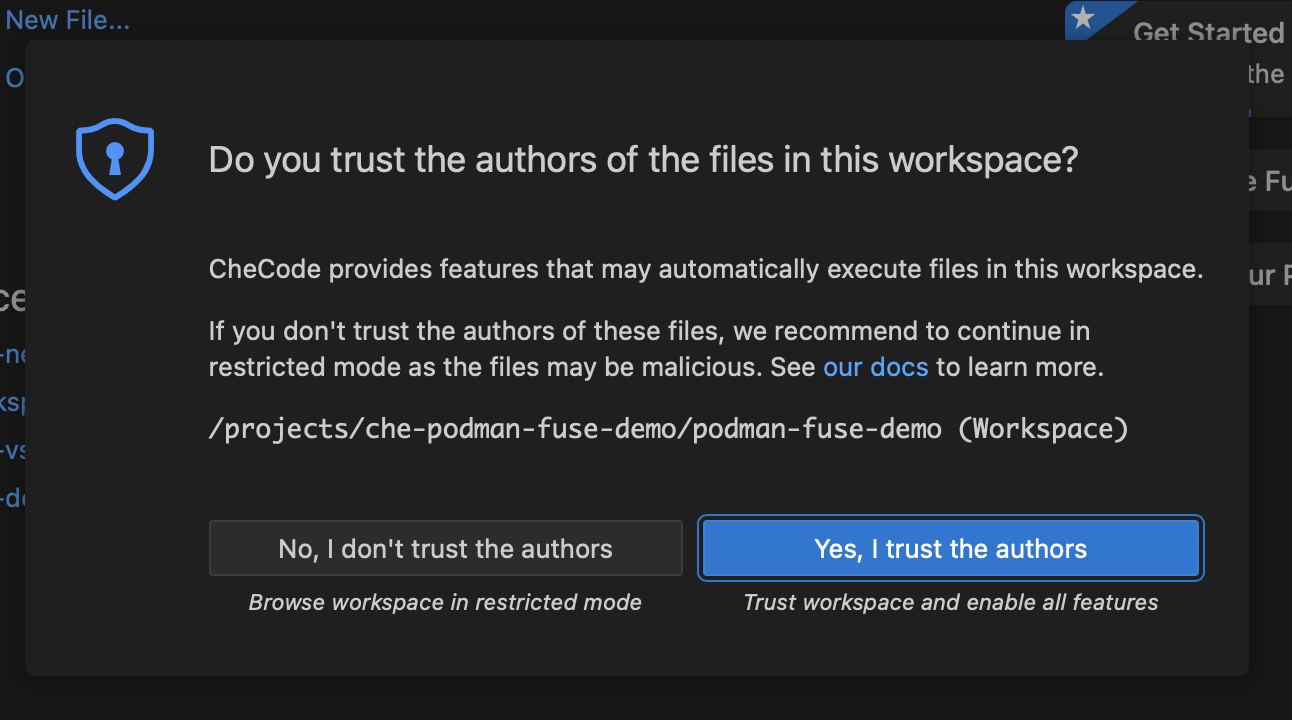
- After the workspace starts, VS Code will ask you to trust the authors of the code repository. You can trust me. 😉
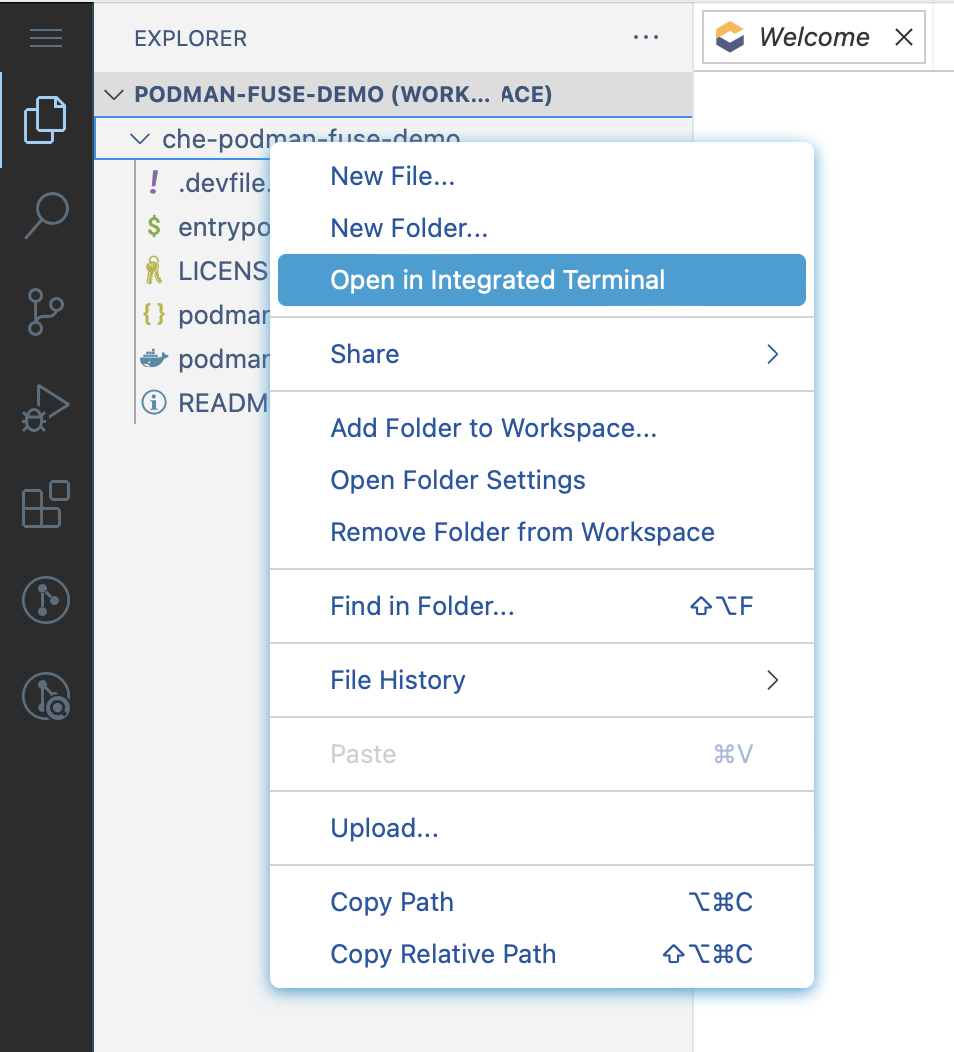
- Now, open a terminal. Right click on the code repo folder
che-podman-fuse-demo. Click “Open in integrated Terminal” - In the terminal execute the following:
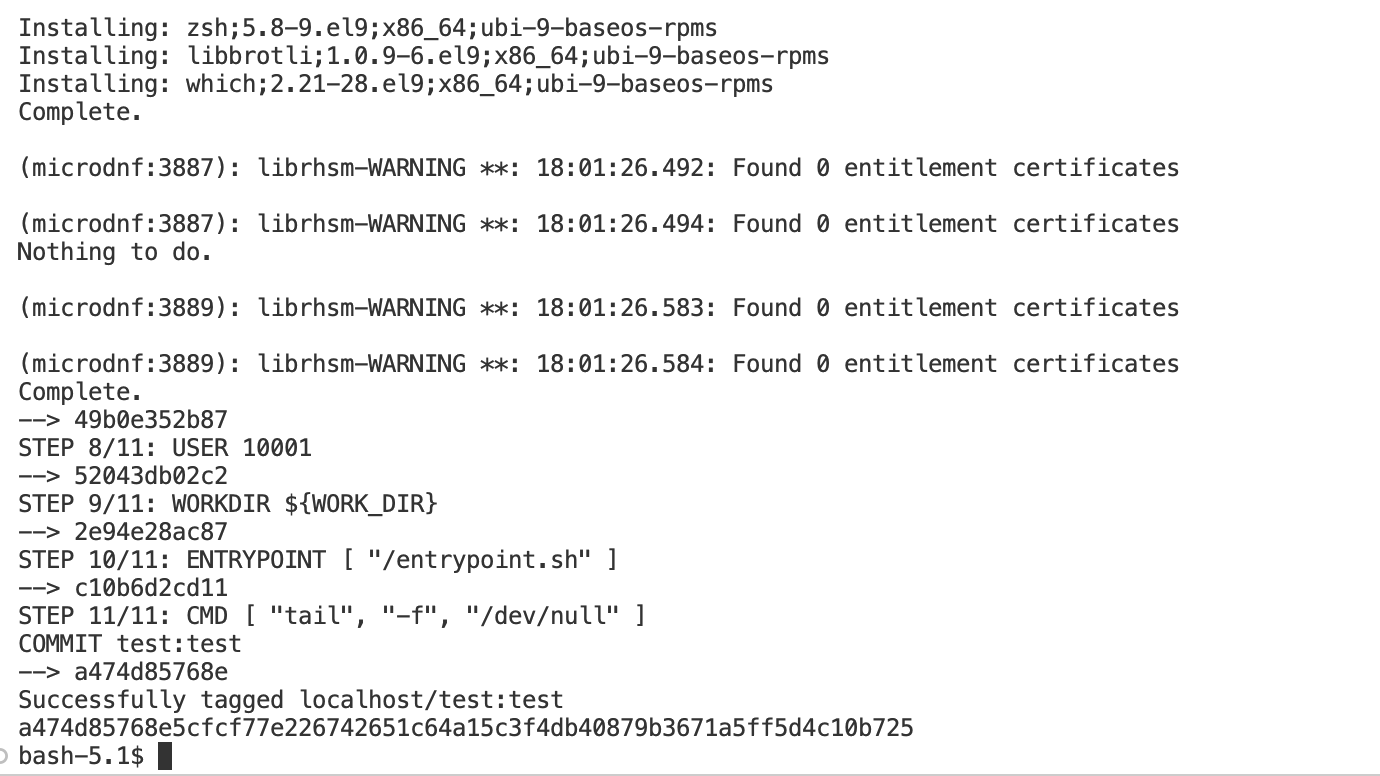
podman build -t test:test -f podman-fuse.Containerfile . - You should have seen a successful build of the container image.
So, that’s Podman with /dev/fuse enabled.
Now, here’s something additional that I’m still working on.
Demo of an “almost” working podman run in Dev Spaces
OK, this is a bit of a bonus here… Something else that I’m working on: “How do you enable podman run in Dev Spaces?”
This isn’t quite usable yet for Java test-containers or other activities that require a full container execution environment. But I feel like it’s getting really close. I’m also not clear on the security implications of what I’m doing here. So, tread carefully and don’t do this on a shared cluster.
We need to apply another MachineConfig that is going to configure SELinux to add some allowed capabilities to the existing container_t type.
- Open a shell terminal and log into your OpenShift cluster with the
ocCLI. - Set a variable for the OpenShift node role that you are going to apply the changes to.
If you are using a Single Node cluster or OpenShift Local, then set:
If you are using an OpenShift cluster with separate control-plane and compute nodes, then set:NODE_ROLE=masterNODE_ROLE=worker - Now, apply the MachineConfig and wait for your cluster to apply it. Note: As before, this will reboot your Single Node cluster if that’s what you are running.
cat << EOF | butane | oc apply -f -
variant: openshift
version: 4.13.0
metadata:
  labels:
    machineconfiguration.openshift.io/role: ${NODE_ROLE}
  name: nested-podman-${NODE_ROLE}
storage:
  files:
  - path: /etc/nested-podman/nested-podman.te
    mode: 0644
    overwrite: true
    contents:
      inline: |
        module nested-podman 1.0;

        require {
          type container_t;
          type devpts_t;
          type tmpfs_t;
          type sysfs_t;
          type nsfs_t;
          class chr_file open;
          class filesystem { mount remount unmount };
        }
        allow container_t tmpfs_t:filesystem mount;
        allow container_t devpts_t:filesystem mount;
        allow container_t devpts_t:filesystem remount;
        allow container_t devpts_t:chr_file open;
        allow container_t nsfs_t:filesystem unmount;
        allow container_t sysfs_t:filesystem remount;
systemd:
  units:
  - contents: |
      [Unit]
      Description=Modify SeLinux Type container_t to allow devpts_t and tmpfs_t
      DefaultDependencies=no
      After=kubelet.service

      [Service]
      Type=oneshot
      RemainAfterExit=yes
      ExecStart=bash -c "/bin/checkmodule -M -m -o /tmp/nested-podman.mod /etc/nested-podman/nested-podman.te && /bin/semodule_package -o /tmp/nested-podman.pp -m /tmp/nested-podman.mod && /sbin/semodule -i /tmp/nested-podman.pp"
      TimeoutSec=0

      [Install]
      WantedBy=multi-user.target
    enabled: true
    name: systemd-nested-podman-selinux.service
EOFCode language: plaintext (plaintext)
Now, let’s see it in action.
Demo of podman run in Dev Spaces
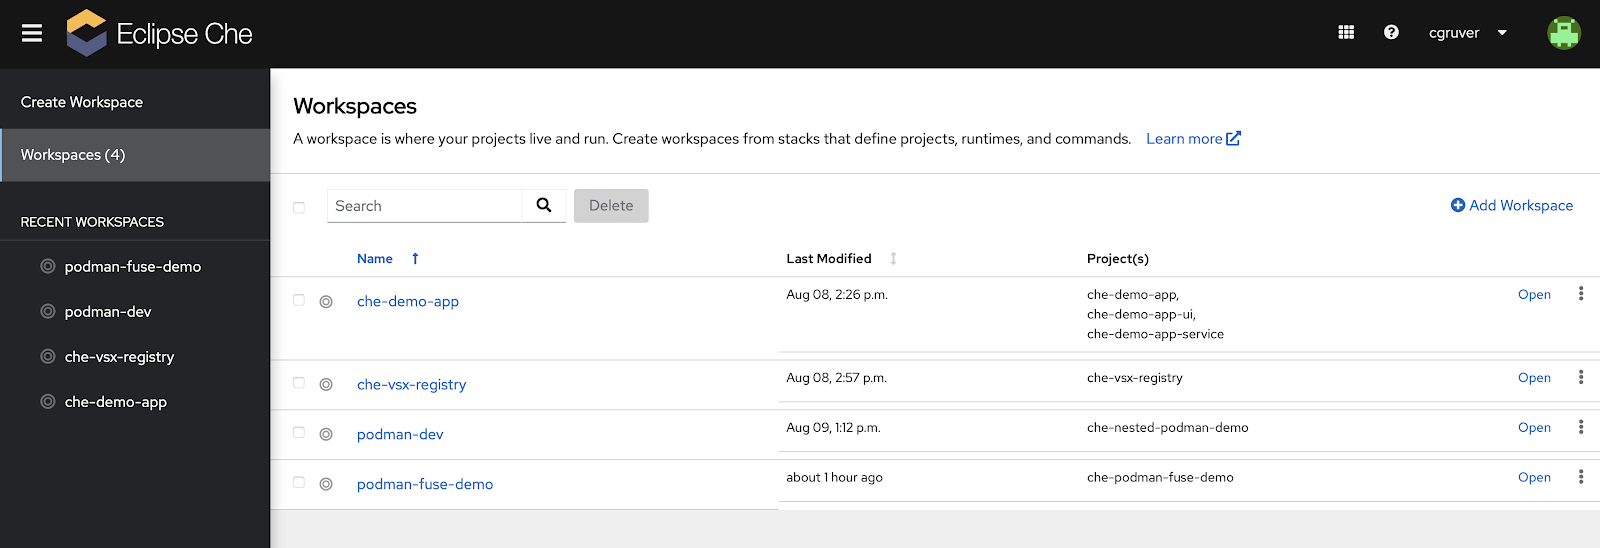
- Log into Eclipse Che / Dev Spaces as a non privileged user.
- Open the
podman-fuse-demoworkspace that we previously created from https://github.com/cgruver/che-podman-fuse-demo.git
- After the workspace starts, open a terminal as before
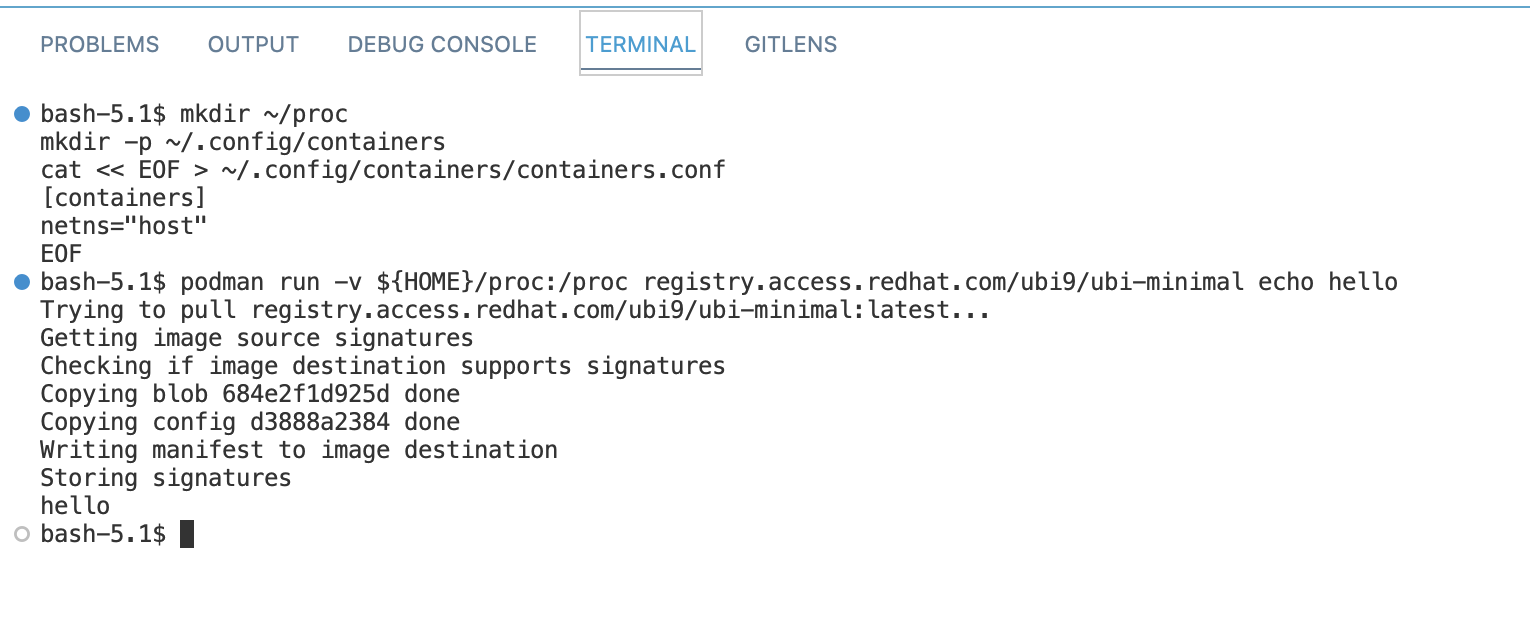
- In the terminal run a container:

podman run registry.access.redhat.com/ubi9/ubi-minimal echo helloCode language: PHP (php)- You should have seen a successful execution of the container.
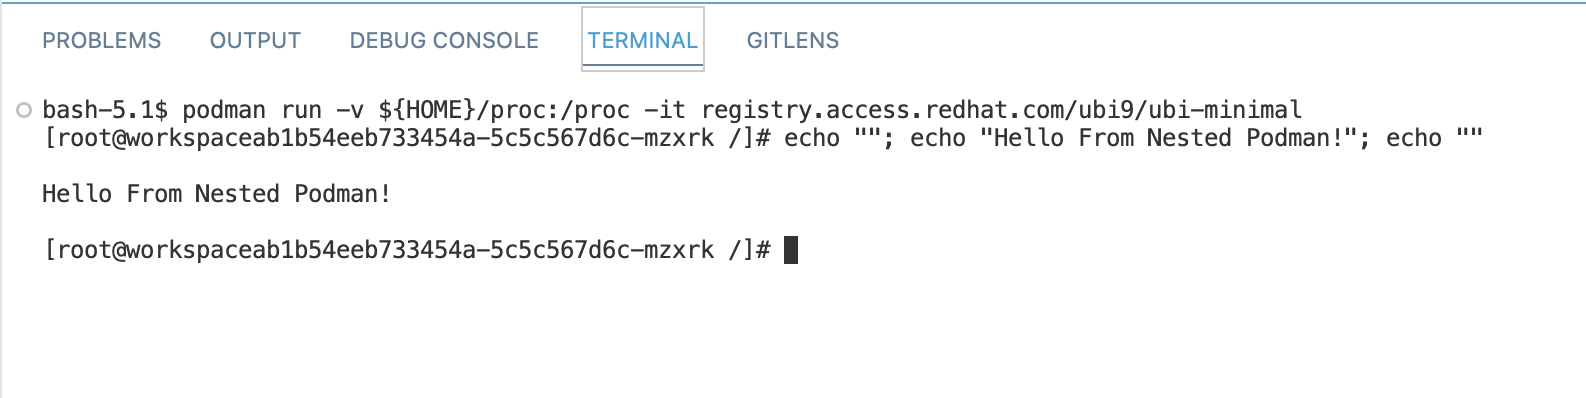
- Now, run:
podman run -it registry.access.redhat.com/ubi9/ubi-minimalCode language: Bash (bash)- You should now have an open shell into the running container.
I hope you had fun with this little exercise.
References
Originally published as: https://upstreamwithoutapaddle.com/blog%20post/2023/08/10/Podman-In-Dev-Spaces-With-Fuse-Overlay.html (August 10, 2023)