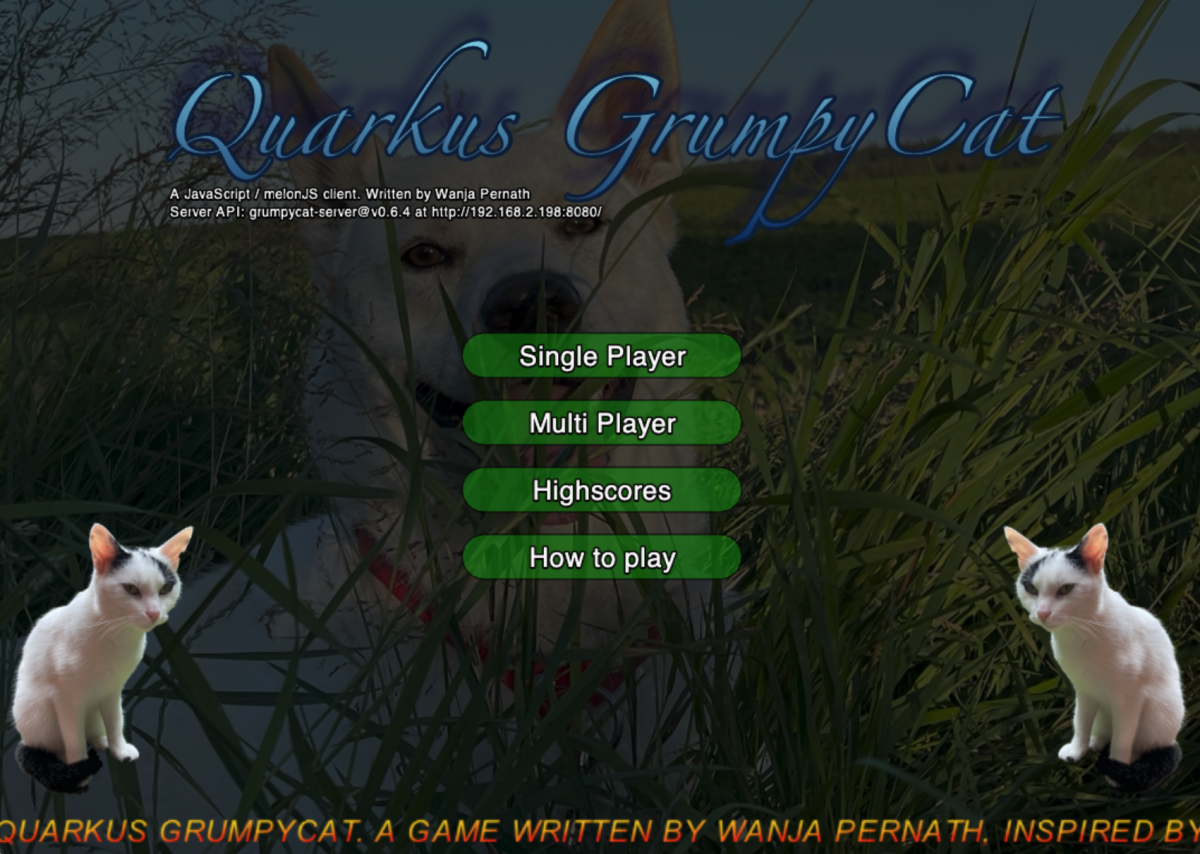
Introduction
Welcome to chapter two of the article series on how to develop a multiplayer game with Quarkus and JavaScript. While chapter one was focussing on the initial setup of the two projects including manifest files for Kubernetes, this chapter is going to focus on some more important gaming stuff. We are going to extend our server service to provide a REST service for downloading game map files and we introduce client <-> server communication with WebSockets and Kafka.
A word on game mechanics
All computer games are following more or less the same game mechanics, regardless if it’s „just a simple 2D game“, a dungeon crawler, or a high end 3D game, using the latest version of the Unreal Engine. On a high level, you always have to implement the following steps:
- Reading and preparing level data
- Reading and preparing game assets (graphics, sound, music)
- Loop until exit condition
- Read player actions
- Update the world
- Update player(s) according to the world
- Update enemies according to player movement and world
- Update the camera according to player movement
- Update statistics and exit condition
- Draw the world and all objects which are visible by the player
- Cleanup
The loop above will be executed on each frame drawn on the monitor, which typically means 60 times per second.
One important part of this game loop is the way how the graphics of the game is drawn. If you have a look at typical games, you’ll notice that there are many similar objects in the world. In 3D-games for example trees or gras or walls and the stones of a street, in 2D-games – like Super Mario for example – you only have a small set of tiles which you’re using all over a map. This set is called a tile set. The tile set I am using to draw the maps of the game can be found here.
A map editor like Tiled can then be used to create a 2-dimensional array of values, where each value greater than zero is a number of a tile in the tile set minus one.
You might have already noticed that there are tiles in the set which are not covering the full width and height of a 32×32 pixel sized tile. Those tiles can be used to place them after you have drawn a base tile. This concept is called Layered Rendering. For example, my maps have several layers: a ground layer, a frame layer (any tile positioned here will be used to stop moving the player and non-flying enemies), a decoration layer, where I am placing objects like flowers and a bonus layer (where all pills are placed and other bonus items).
So your map ends up in being a three dimensional array of numbers and you can just loop over it:
for(let layer=0; layer < numLayers; layer++) {
  for( let y=0; y < height; y++) {
    for( let x=0; x < width; x++) {
	  tileNum = layers[layer].data[y][x];
	  if( tileNum > 0 ) {
		drawTile(...);
      }
    }
  }
}
Code language: JavaScript (javascript)
A game engine like MelonJS for example just needs to be fed with the map and the tile set. The rest will be done automatically for you: Camera position, soft scrolling of the map inside the camera and so on. The only thing we have to care about right now is player and enemy movements.
The server: Downloading A Map
Although it’s not really necessary, I have decided to create a REST service which will be called by the client to download a map. The reason is that during the development of the game, I realized that I am using some features of Tiled MapEditor in a different way than it was meant to be used. And sometimes MelonJS is interpreting those map data in a different way than I thought it should.
So the first thing we have to do is to create some Java classes which are representing the Tiled MapEditor’s JSON format. Then we are going to create the REST service to download the data.
Mapping JSON
With Quarkus it’s really easy to use either Jackson or JSON-B to do JSON binding with Java. This all depends on the extension you were using. By default Quarkus is picking quarkus-resteasy-reactive-jackson extension and thus is using Jackson for internal data binding. If you still want to use JSON-B, just replace the extension by using quarkus-resteasy-reactive-jsonb. However, the rest of this tutorial is using Jackson.
Looking at my implementation of the map beans, you’ll notice that they are just straight forward implementations with public properties and no setters / getters. I am just using @JsonProperty here and there to make sure the property gets correctly bound to its JSON one.
The REST service
Now let’s have a look at the MapResource.java REST implementation. In the @PostConstruct section of the resource, I am reading all levels, which are stored as class resources in src/main/resources/maps and going through them to check the following:
- File name of the map will be the name of the resource without any extension
Personslayer must be invisible- Any object group must be invisible
- Translate layer objects of type
polylinetoWayPathobjects - Check some custom map properties and use their value as map properties
- Make sure the map does not already contain an embedded
TileSetand transform the TileSet to an embedded one (this makes it easier to load a map later)
Reading a JSON map is done via Jackson’s ObjectMapper. Quarkus contains a default, which we are just going to @Inject on class level.
The rest of the resource is straight forward: We are providing several entry points to download a map. Either by map number or by map name.
Testing the service
Now it’s time to test everything. As I personally prefer httpie over curl, we first have to install it. The service should of course also work with traditional curl, but if you like, you can also install httpie. On macOS, you can use home-brew to install httpie. For this we are just executing
$ brew install httpie
Then we have to startup our server app via quarkus
$ quarkus dev
If everything was compiled successfully, we are opening another shell and executing
$ http :8080/maps
We should see the following output:
$ http :8080/maps
HTTP/1.1 200 OK
Content-Type: text/plain;charset=UTF-8
content-length: 1

6
If you execute one of the following commands, you can also see the JSON output of the maps:
$ http :8080/maps/0
A note on CORS
Once you’ve deployed your cat-server on OpenShift or any other Kubernetes environment, you might notice that your client can’t access the service, because it’s deployed using a different URL. This is not a bug in your client (as I thought before), but it’s a security feature: Your JavaScript client – if it’s running in a browser – MUST not access any other service running on a different URL.
To allow this, you need to make sure, your service allows Cross-Origin Resource Sharing (CORS).
Quarkus has an easy way to make your service CORS aware by just adding the following configuration property to your application.properties:
quarkus.http.cors=true
Code language: JavaScript (javascript)
The server: Collecting client input
There are two places where the client is sending data to the server:
- Every player and enemy movement In single player mode to have some kind of a replay feature
- Every player movement in multiplayer mode to update the game state of the other players
I have tried to use a REST service here as well but failed miserably as that would mean to have a REST service which is capable of handling more than 60 requests per second. This was not possible with a blocking REST service. Although I know that Quarkus is providing a non-blocking eventing mechanism as well (called reactive mode), I did not want to use it. I wanted to stay as traditional as possible.
And the solution to this problem is the way Quarkus is providing the WebSocket implementation (which in fact IS non-blocking and reactive but you don’t have to worry about it).
Quarkus supports two different modes of providing a WebSocket for us.
Creating a WebSocket with reactive messaging
The first mode is the easiest one as it is using Messaging behind the scenes (to be more precise, it’s utilizing SmallRye Reactive Messaging to provide the WebSocket functionality). In order to use it, you have to add the extension quarkus-reactive-messaging-http to your pom.xml file and then you need to configure an incoming channel.
<dependency>
	<groupId>io.quarkiverse.reactivemessaging.http</groupId>
    <artifactId>quarkus-reactive-messaging-http</artifactId>
    <version>1.1.0</version>
</dependency>
Code language: HTML, XML (xml)
Configure the incoming channel in application.properties
mp.messaging.incoming.incoming-states.connector=quarkus-websocket
mp.messaging.incoming.incoming-states.path=/player-update
mp.messaging.incoming.incoming-states.buffer-size=64
The format of all the messaging properties is as follows:
mp.messaging.[incoming|outgoing].<channel>.<property>=<value>
Now we are able to create a method which is consuming all messages coming through this channel by annotating it with
@Incoming("incoming-states")
void collectPlayerUpdate(PlayerAction action) {

	// do your update action here
}
Code language: JavaScript (javascript)
Please note that this method must be part of an @ApplicationScoped bean implementation. The only problem we have now is that we are not allowed to use any blocking operations (for example a database update) in this method, because it is reactive behind the scenes. We are allowed to annotate it with either @Blocking or @Transactional, but then we still have a possible timing issue, so we need to think a bit further here.
One solution for the timing problem would be to cache the incoming PlayerAction objects and have a Processor which is then storing everything later. But I wanted to test how Quarkus deals with Apache Kafka, so I decided to also use the Kafka extension.
Using Kafka with Quarkus is just a piece of cake and works exactly the same way as you’ve already seen with the WebSocket approach earlier. Just include the smallrye-reactive-messaging-kafka extension in your pom.xml and then configure an incoming channel in your application.properties:
kafka.auto.offset.reset=earliest
%prod.kafka.bootstrap.servers=kafka:9092

mp.messaging.incoming.player.topic=player-actions
mp.messaging.incoming.player.connector=smallrye-kafka
mp.messaging.incoming.player.value.deserializer=org.wanja.grumpycat.PlayerActionDeserializer
mp.messaging.incoming.player.value.serializer=io.quarkus.kafka.client.serialization.ObjectMapperSerializer
Now you can change your collectPlayerUpdate() method above to feed the Kafka topic player-actions and you can add another method which is then listening for incoming player-actions on the Kafka topic and storing the action into the database.
@Incoming("incoming-states")
@Outgoing("player-actions")
PlayerAction collectPlayerUpdate(PlayerAction action) {
	// do some checks and then just return the action
	// and it will be filled into the player-actions
	// kafka topic
	return action;
}

@Incoming("player-actions")
@Transactional
@Blocking
void processPlayerAction(PlayerAction action) {
	action.persist();
}
Code language: JavaScript (javascript)
In order to have automatic (de-) serialization in Kafka, we need to create a class which extends ObjectMapperDeserializer. It doesn’t do anything real special, but it is used internally to deserialize our PlayerAction payload.
public class PlayerActionDeserializer extends ObjectMapperDeserializer<PlayerAction> {
    public PlayerActionDeserializer() {
        super(PlayerAction.class);
    }
}
Code language: PHP (php)
Testing the service
By executing our service in dev mode, Quarkus will automatically provide a fully configured instance of a Kafka broker. You should see the following log output in your console to verify.
$ quarkus dev
...
2022-12-18 18:03:40,156 INFO  [io.qua.kaf.cli.dep.DevServicesKafkaProcessor] (build-30) Dev Services for Kafka started. Other Quarkus applications in dev mode will find the broker automatically. For Quarkus applications in production mode, you can connect to this by starting your application with -Dkafka.bootstrap.servers=OUTSIDE://localhost:55011
...
Code language: JavaScript (javascript)
Please note: By default Quarkus is starting Redpanda, a Kafka compatible streaming platform, but can also be configured to start a „real“ Kafka instance. The difference would be that a „real“ Kafka instance requires quite a bit of time to startup. Redpanda starts up much faster.
Now we need some kind of a client to send data to the WebService we’ve configured earlier. The JavaScript code is straight forward:
socket = new WebSocket("ws://" + location.host + "/player-update");

socket.send( JSON.stringify( {actionId: 0, text: "Hi from JavaScript"} ));

Code language: JavaScript (javascript)
We are simply opening a new WebSocket with the URL we have defined in application.properties and then we are sending a message with a payload to the server. As we are not getting anything back, we’re simply ignoring the asynchronous behavior of JavaScript’s WebSocket implementation for now.
If you are interested in more details of the JavaScript implementation, please have a look at either the networking or the multiplayer implementation of the client.
Kafka on OpenShift
If we now want to deploy our cat-server on OpenShift (or any other Kubernetes distribution), we have to find a proper way of installing Kafka on it. There is an easy way to do it by installing the Strimzi operator in your cluster. Once installed, it provides a set of custom resource APIs, where we need to use the following two:
Kafkato configure a Kafka BrokerKafkaTopicto configure a Kafka Topic to write to
The Kafka resource is being used to install and configure the broker itself.
apiVersion: kafka.strimzi.io/v1beta2
kind: Kafka
metadata:
  name: grumpy-kafka
spec:
  kafka:
    version: 3.2.0
    replicas: 1
    listeners:
      - name: plain
        port: 9092
        type: internal
        tls: false
      - name: tls
        port: 9093
        type: internal
        tls: true
        authentication:
          type: tls
    storage:
      type: jbod
      volumes:
        - type: persistent-claim
          id: 0
          size: 5Gi
          deleteClaim: true
    config:
      offsets.topic.replication.factor: 1
      transaction.state.log.replication.factor: 1
      transaction.state.log.min.isr: 1
      default.replication.factor: 1
      min.insync.replicas: 1
      inter.broker.protocol.version: '3.2'
  zookeeper:
    replicas: 1
    storage:
      type: persistent-claim
      size: 1Gi
      deleteClaim: true
  entityOperator:
    topicOperator: {}
    userOperator: {}
Code language: JavaScript (javascript)
Then we require an instance of KafkaTopic which we are using in our Quarkus based cat-server
apiVersion: kafka.strimzi.io/v1beta2
kind: KafkaTopic
metadata:
  name: player-actions
  labels:
    strimzi.io/cluster: "grumpy-kafka"
spec:
  partitions: 1
  replicas: 1
  config:
    retention.ms: 7200000
    segment.bytes: 1073741824
Code language: JavaScript (javascript)
metadata.name must be the same as we have used in application.properties. And labels.strimzi.io/cluster must have the same value as Kafka.metadata.name so that Strimzi is able to deploy the topic on the broker.
That’s all. Now we are able to deploy our cat-server on OpenShift / Kubernetes and everything should be connected automatically.
To simplify the deployment a bit, we could add the two files to the src/main/kubernetes/kubernetes.yml file so that the kubernetes extension of Quarkus can generate all in one go.
After building our service via the following command to also generate a new version of the corresponding container image
$ mvn clean package -Dquarkus.container-image.push=true
Code language: JavaScript (javascript)
We can then quickly install the whole application (including database and the broker and the topic) by just executing
$ oc apply -f target/kubernetes/kubernetes.yml
Easy, isn’t it?
Creating a WebSocket the more traditional way
Until now we have just implemented a way to let the client send all input activity to the server via a WebSocket and a Kafka Topic, which we are in fact just using as a queue to have some kind of a deferred storage. It’s not really important that every movement is stored in exactly the same time as it happens on the client.
In a multiplayer scenario however, it is important that every client knows exactly where all the other players are in the map. Otherwise the game might end up in running totally asynchronously, where every game has its own state.
This is the reason why I have chosen to still use a WebSocket here, but I want to have full flexibility of the implementation.
This is where the extension quarkus-websockets comes into play.
We again need to have a new @ApplicationScoped class which we additionally annotate with @ServerEndpoint to specify the URL of the WebSocket.
As there might be multiple multiplayer matches at one time, we want to also provide a gameId and a playerId in the URL path. So the skeleton of our WebService implementation looks like this:
@ApplicationScoped
@ServerEndpoint(
	value = "/multiplayer/{gameId}/{playerId}",
	encoders = {MultiplayerMessageEncoder.class},
	decoders = {MultiplayerMessageDecoder.class}
)
public class MultiplayerSocket {
	@OnOpen
	public void onOpen(Session session, @PathParam("gameId") Long gameId, @PathParam("playerId") Long playerId ) {
	}

	@OnError
	public void onError(Session session, @PathParam("gameId") Long gameId, @PathParam("playerId") Long playerId, Throwable error) {
	}

	@OnClose
	public void onClose(Session session, @PathParam("gameId") Long gameId, @PathParam("playerId") Long playerId) {
	}

	@OnMessage
	public void onMessage(MultiplayerMessage message, @PathParam("gameId") Long gameId, @PathParam("playerId") Long playerId) {
	}
}
Code language: PHP (php)
The main purpose of this WebSocket is to
- Open and manage a match
- Receive client input
- Analyze the client input and
- Send important data to all other connected clients (broadcasting)
The onOpen() method will deal with adding players into a newly created match. onClose() has to deal with possible connection issues with the client (remove a client from the match if it has disconnected).
And finally onMessage() has to deal with everything in regards to communication between all the clients. It is picking up a MultiplayerMessage from the client (for example a player movement or a bomb placement or even any other match-making message) and is sending this message back to all other clients (except the one which was sending it).
Have a look at my full implementation here.
Please note, that the WebSocket implementation is running on the I/O thread of Quarkus, which means you can not use any blocking methods (such as database updates etc.). If you have to deal with some blocking code, you need to delegate the work to a Worker thread by annotating the method with @Blocking.
As we are still dealing with a JavaScript client, we have to work with JSON payload, which requires an Encoder / Decoder pair in the automated WebSocket handling.
Such a Decoder might use Jackson’s ObjectMapper implementation and could look like the following class:
public class MultiplayerMessageDecoder implements Decoder.Text<MultiplayerMessage> {

    ObjectMapper om;

	public void init(EndpointConfig config) {
        om = new ObjectMapper();
    }

    public void destroy() {
        om = null;

    }

    public MultiplayerMessage decode(String s) throws DecodeException {

        try {
            return om.readValue(s, MultiplayerMessage.class);
        }
        catch (Exception e) {
            e.printStackTrace();
            throw new DecodeException(s, e.getMessage());
        }
    }

    public boolean willDecode(String s) {
        return true;
    }
}
Code language: JavaScript (javascript)
The Encoder looks exactly the same but is implementing the Encoder.Text interface.
Conclusion
This article has demonstrated how easy it is to use different technologies with Quarkus. You’ve learned how to easily create a WebSocket to let the client communicate quickly (fire and forget) with the server and how to work with Apache Kafka. With Strimzi you’ve learned how to deploy Kafka in a Kubernetes environment.
As we’ve now got everything we need in order to start developing our client, we’re going to focus on it next time.
I hope you enjoyed reading this article.